Terminal - 美化終端機
warning
後來發現這東西超吃系統資源...😅
powershell 終端機美化
- 前往 Oh My Posh,在 Docs/Get Started/Installation 選取需求的版本 (以下為 windows 範例)。
- 使用指令安裝:
winget install JanDeDobbeleer.OhMyPosh -s winget
- 重啟 terminal。
- 輸入以下指令測試是否完成安裝:
oh-my-posh.exe
warning
如遇錯誤,且重新安裝還是錯誤,改先執行這段:
$env:Path += ";C:\Users\user\AppData\Local\Programs\oh-my-posh\bin"
- 安裝字體 (必要選項,不然會出現亂碼),下面連結選擇一個喜歡的字體下載:
info
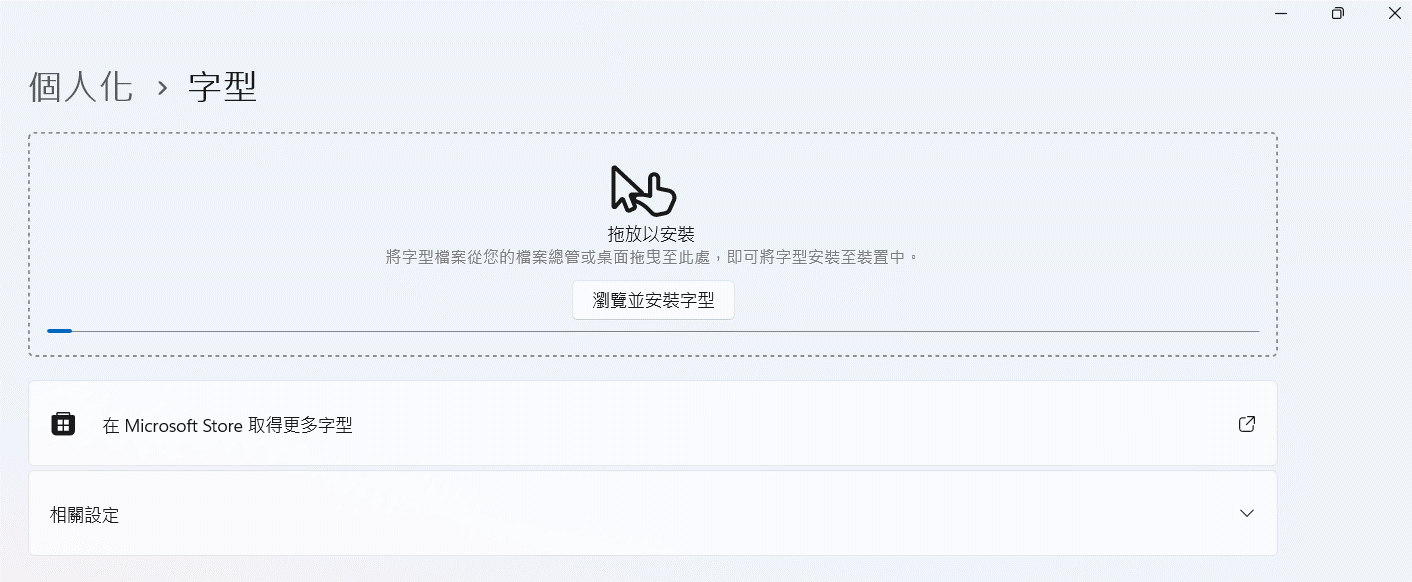
- 將剛剛下載的字體檔案解壓縮,前往電腦
設定/個人化/字型拖曳安裝。

- 回到 terminal,輸入指令安裝應用,會跳出很多字體供選擇,找到剛剛下載安裝的套用:
oh-my-posh font install
- 電腦搜尋
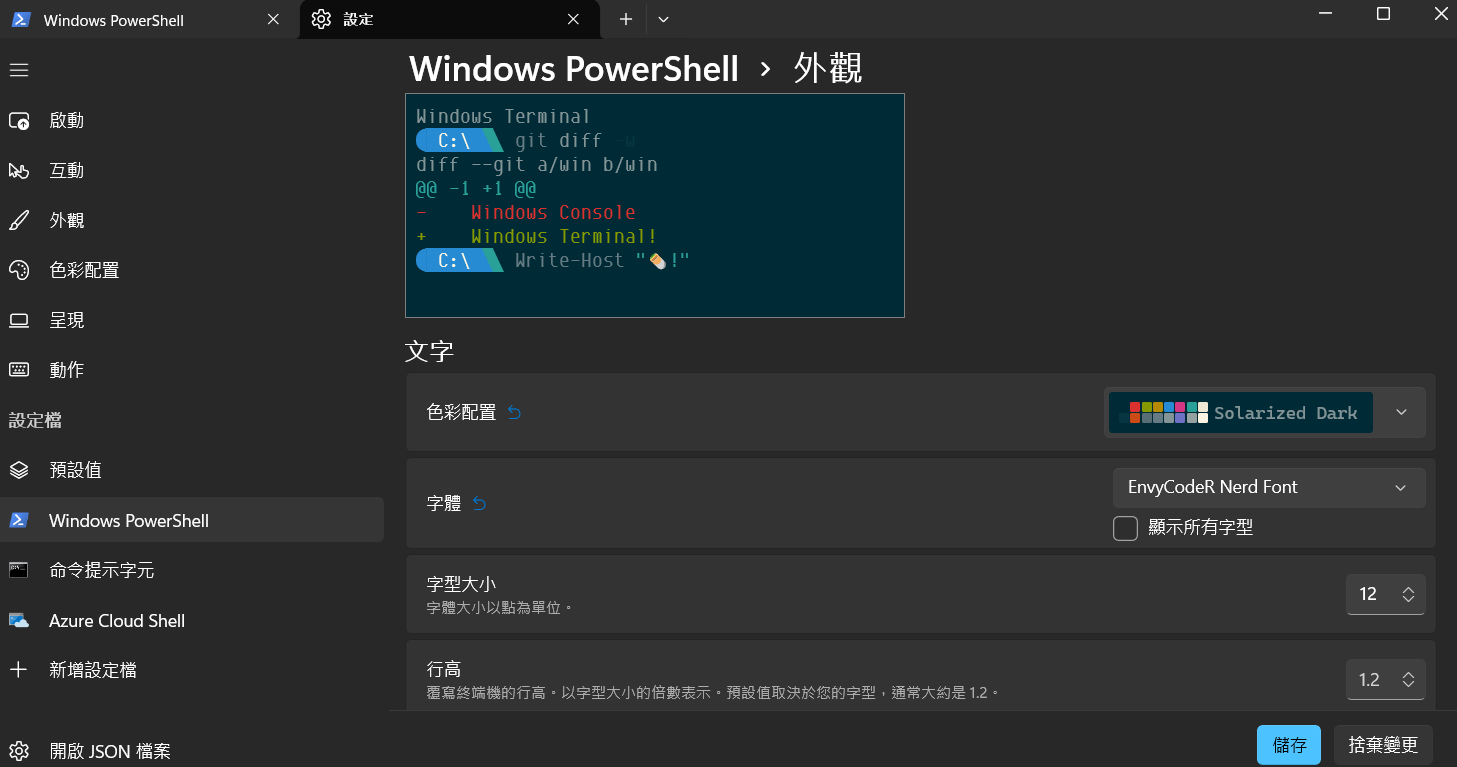
windows powershell,可以在裡面找到設定/外觀,把字體包丟給系統。

- 測試 $PROFILE 是否存在,若為
True直接跳到第 11 點:
Test-Path $PROFILE
- 第 9 點如為
False,輸入以下指令建立新的:
New-Item -Path $PROFILE -Type File -Force
- 進入 $PROFILE,添加指令並儲存:
Go into $PROFILE
notepad $PROFILE
$PROFILE 添加這行
oh-my-posh init pwsh | Invoke-Expression
- terminal 執行 $PROFILE
. $PROFILE
warning

如果遇到如上錯誤��訊息,請執行下述指令後再重新執行 . $PROFILE:
get-executionpolicy
set-executionpolicy remotesigned
note
有些電腦會有權限限制,上述指令會無法運作,請執行:
Set-ExecutionPolicy -Scope CurrentUser
之後輸入參數 remotesigned
- 打開
Visual Studio User Setting.json,更改字體配置:
"editor.fontFamily": "EnvyCodeR Nerd Font",
"terminal.integrated.fontFamily": "EnvyCodeR Nerd Font",
warning
如果 VScode 中 powershell 出現問題,就按上面的流程在 VScode 中再做一次。
- 補充 更改 theme,在 Oh My Posh - Theme 找到喜歡的樣式,代入執行下面指令:
oh-my-posh init pwsh --config "$env:POSH_THEMES_PATH/jandedobbeleer.omp.json" | Invoke-Expression
tip
需要更改的是 jandedobbeleer 位子,這是樣式名稱。
